How to Create Poster Mockups for Free Without Photoshop or Watermarks
Create free poster mockups without Photoshop. Preview your designs in frames, on walls and in street displays using online tools.
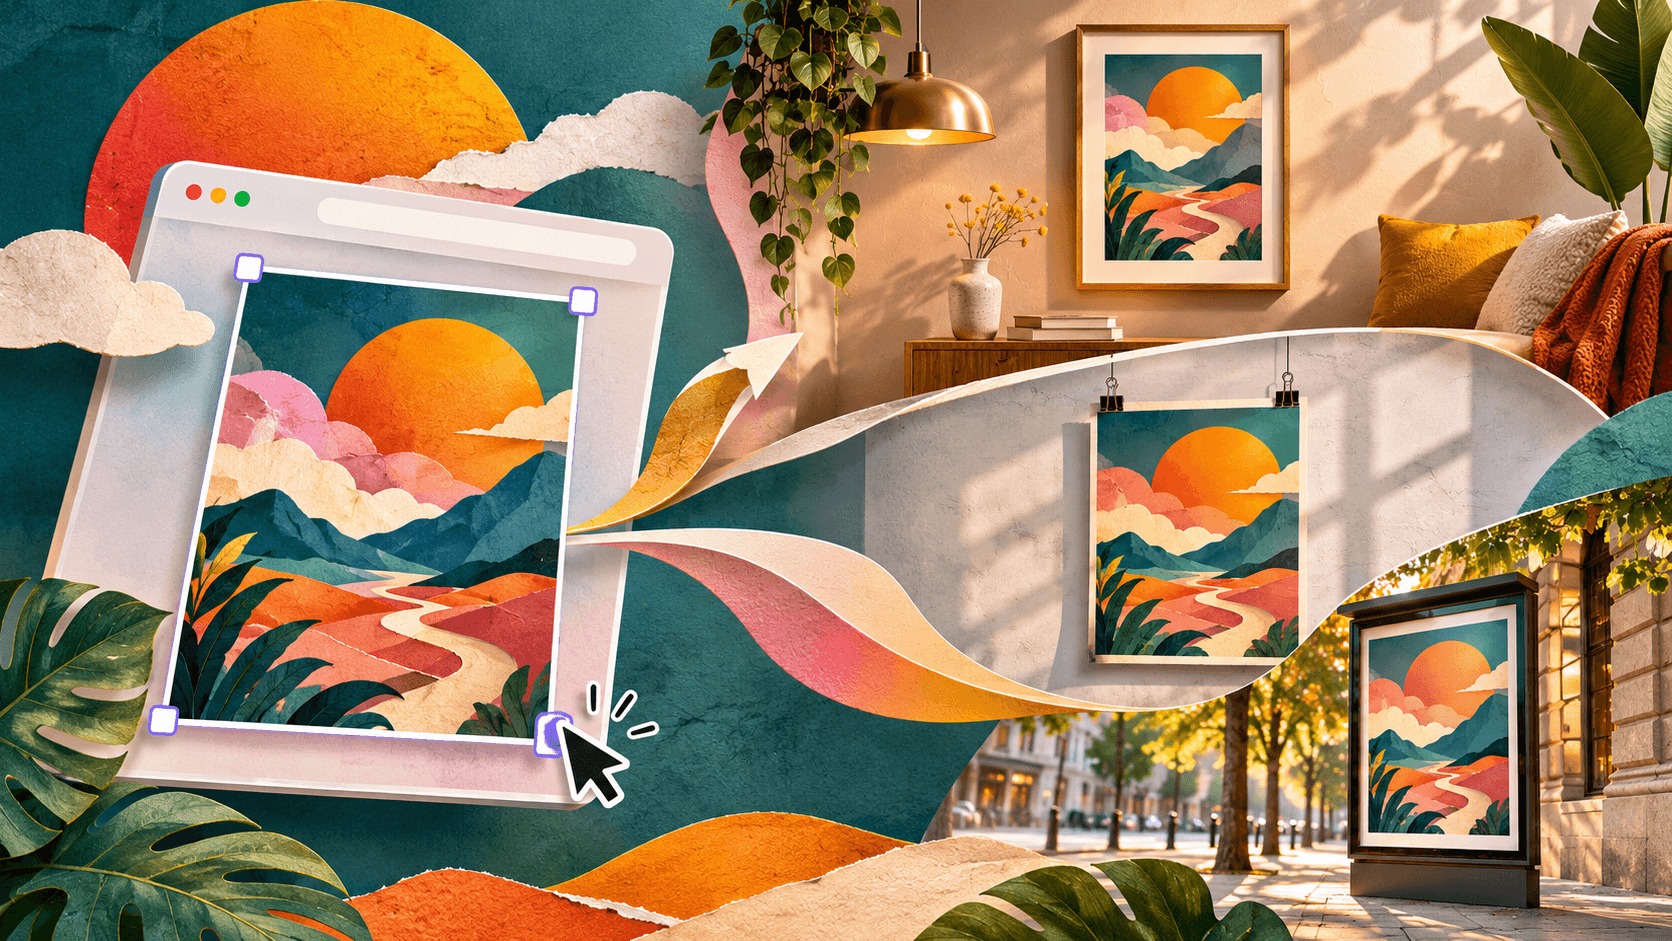
A finished poster can look different once it is framed, placed on a wall or surrounded by street signage. A poster mockup gives clients that context and helps them judge scale, composition and readability before printing.
You can prepare these images in a browser. Choose a suitable free scene, add your artwork and check the downloaded file before building the rest of the presentation.
Where Can I Create Poster Mockups Online for Free Without Watermarks?
Choose an editor with free poster scenes and artwork replacement. Check whether you need an account, which export sizes are available and whether downloads carry a watermark. Review commercial-use terms separately.
The free mockup generator by ls.graphics includes free and paid static poster scenes. Insert your artwork, adjust the available settings and export. Free scenes can be downloaded without watermarks; check the selected scene for PNG, PSD or SVG availability.
How Can I Create Professional Poster Mockups Without Photoshop?
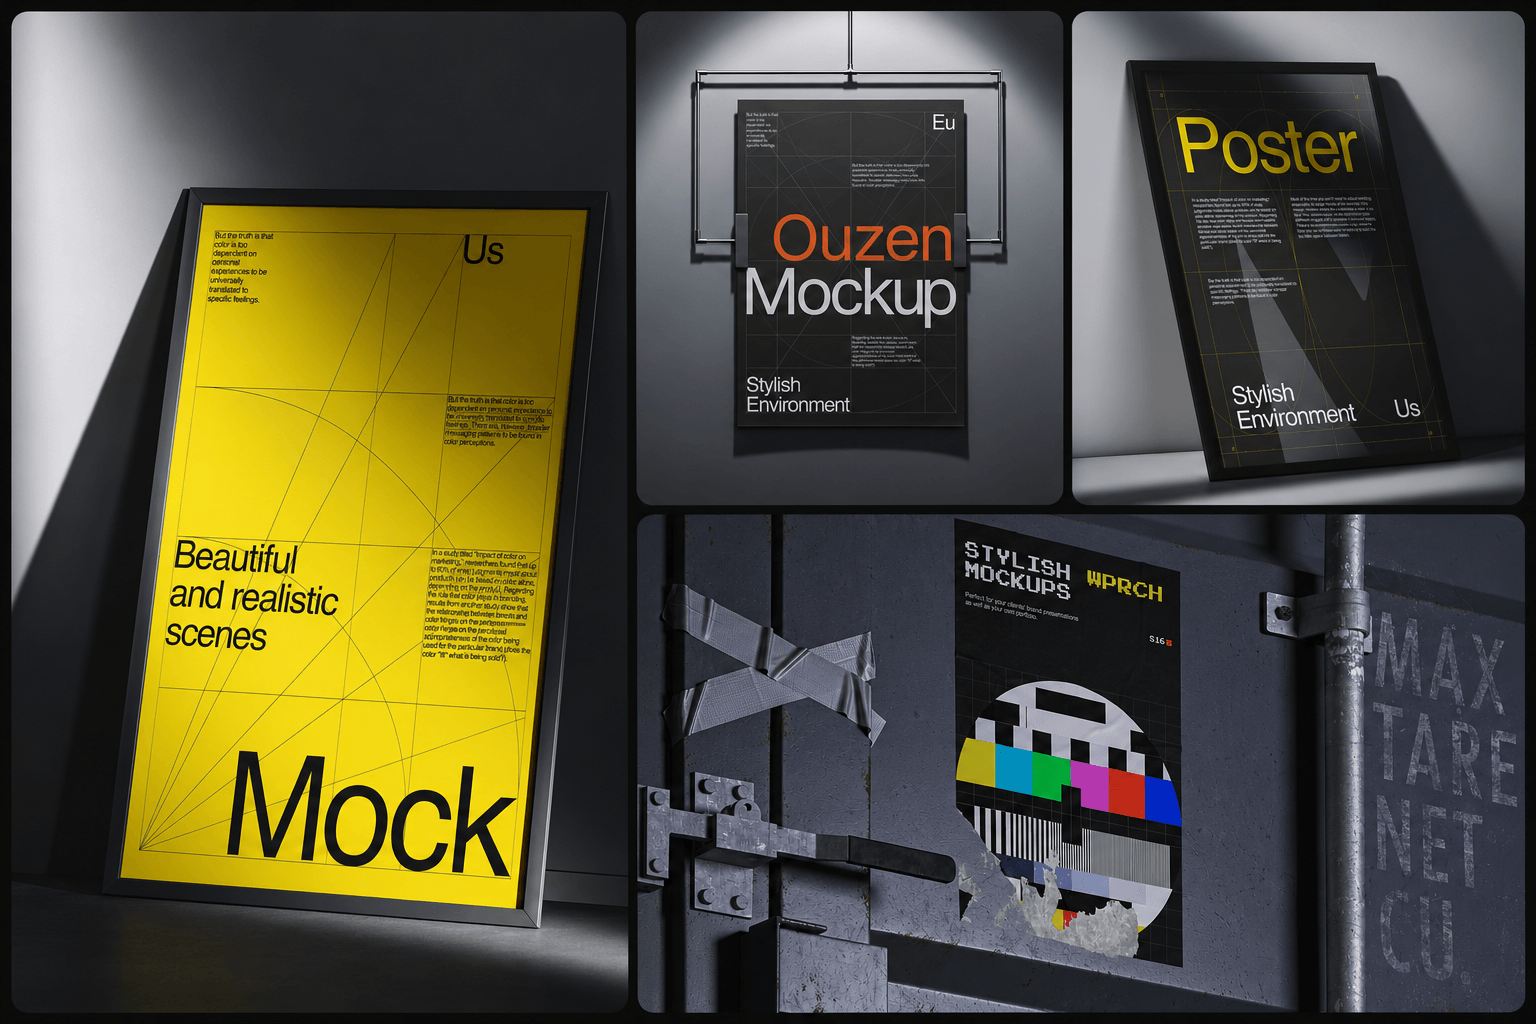
1. Prepare the Artwork
Export a sharp PNG or high-quality JPG. Use an RGB copy for the screen presentation and keep the print-ready original separately.
Match the artwork to the poster opening. An A-series design and an 18 × 24-inch print have different proportions; stretching one to fit the other will distort the lettering. Remove crop marks and bleed unless the template requires them.
2. Choose the Setting
Use a frontal wall view to assess layout, a framed interior for an art print or a street scene for an event campaign. Look for lighting that leaves the headline and essential details visible.
3. Upload Your Design
Use the scene’s artwork replacement control and fill the poster surface. If the scene contains several posters, replace each relevant surface.
4. Check Crop and Perspective
Preserve the original proportions and keep dates, logos and text inside the visible area. Prepared scenes often apply perspective automatically. Where corner controls are available, align them with the poster plane.
If fitting the artwork requires stretching or losing important content, choose a scene with a better-matched opening.
5. Review Light and Surface Detail
Glass reflections should remain above the artwork, while a design on creased paper should follow its folds. Nearby furniture and doorways suggest scale, but they do not confirm measurements. Label the intended print size when dimensions matter.
6. Export and Inspect
Use PNG for crisp typography or a high-quality JPG when available and file size matters. Choose PSD if you need further layer editing in a compatible application.
Open the download at 100% and inspect lettering, edges, compression and watermarks. Then review it at the size it will appear in the presentation.
Choose a Poster Mockup Scene That Fits the Project
Select a free poster mockup according to the poster’s intended setting and the decision you want the client to make.
Framed interiors suit illustrations, photography and art prints. They help viewers imagine the work in a room. Check the frame proportions, mat border and surrounding decor so the setting supports the artwork.
Wall scenes work well for exhibition graphics, typography and branding projects. A frontal view makes composition easier to assess; an angled view can reveal paper texture and edges.
Street and outdoor scenes give advertising, concert and festival posters a busier setting. Use them to judge whether the headline attracts attention and whether supporting information remains readable in the presentation.
Minimal studio scenes are useful for portfolio case studies and design comparisons. Show alternatives in the same setting so changes in lighting or surroundings do not influence the client’s preference.
Pair a relevant context image with a closer, clearer view. The first explains where the poster belongs; the second lets the client inspect the design.
Which Premium Poster Mockups Are Worth Paying for as a Graphic Designer?
Consider a premium mockup when your free options leave a specific gap. Useful qualities include:
- Believable materials: paper texture, frame edges and reflections that work with your artwork.
- Sufficient resolution: detail that holds up in full-screen slides and closer crops.
- Practical controls: clearly described adjustments for backgrounds, frames, shadows and other scene elements.
- Coordinated views: matching angles or settings for presenting a campaign consistently.
- Suitable proportions: openings that accommodate the design without distortion or awkward cropping.
Compare LS Graphics premium scenes and collections against those requirements. Check the included formats and editable elements before buying. A small set of relevant views can be more useful than a large bundle.
Should I Use a PSD Template or an Online Generator to Create Poster Mockups?
| Option | Advantages | Limitations |
| Online generator | Quick artwork replacement and available scene adjustments in a browser | Controls and export options vary by scene and plan |
| PSD template | Smart Objects and potentially detailed control over individual elements | Requires a compatible editor; layer flexibility varies |
| Figma or Sketch file | Keeps mockups alongside layouts and presentation boards | Requires compatible software; controls depend on file structure |
LS Graphics offers a browser generator and downloadable PSD, Figma and Sketch resources. Check the individual asset for included formats, free access and usage terms.
For an early review, a generator can help you compare several designs in one scene. Use a downloadable file when you need finer adjustments or want to work within an existing presentation document.
Where Can I Download High-Resolution Poster Mockups for Large Client Presentations?
Look for stated pixel dimensions before downloading. On LS Graphics, check the selected resource’s specifications and formats. For browser scenes, confirm the final export size rather than relying on the editor preview.
An image covering an entire 3840 × 2160 slide should ideally meet those dimensions. A smaller export may suit an inset, but enlarging it will not recover missing detail.
Also check how much space the poster occupies. A large interior image may contain too little artwork detail for reviewing typography. Include a closer view and inspect the exported slides at their intended display size.
Conclusion
A convincing poster presentation starts with artwork that fits the scene. Preserve its proportions, choose a relevant setting and check how lighting, texture and perspective affect the result.
Give clients a clear view for assessing the design and a context image that suggests its intended use. Keep the styling consistent and confirm export quality, watermark status and usage permissions before sharing. A few carefully chosen views can make feedback more specific and help resolve presentation questions before printing.
